
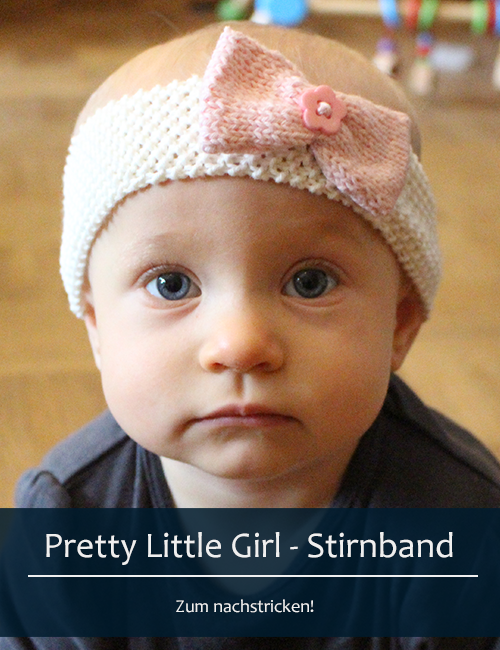
Kleines Strick-DIY: Stirnband “Pretty Little Girl”
(english translation now included! Scroll down)
Ich habe heute eine kleine Strickanleitung für euch. In kurzer Zeit habt ihr ein schickes Stirnband für eure kleine Maus gezaubert.
Feli von talu.de hatte mich schon vor längerer Zeit angeschrieben und mir ein kleines Strickpaket angeboten für den “Klein gestrickt” Wettbewerb.
Und so entstand das Stirnband “Pretty Little Girl”, dass ihr nun nachstricken könnt!

Was ihr dafür braucht:
- Baumwollgarn in weiß (ich hatte Rico Baby Cotton Soft DK)
- Baumwollgarn in rosa (ich hatte Rico Baby Cotton Soft DK)
- einen passenden Knopf
- Nadeln in 3,0mm und 3,5mm
- Wollnadel zum vernähen
So geht es:
Das Band:
Für das Band bitte 11 Maschen auf 3,5mm Nadeln anschlagen.
Falls das Stirnband breiter werden soll, bitte eine ungerade Zahl anschlagen. So vermeidet ihr Strickfehler am besten!
Das Band wird im Perlmuster gestrickt, also ein versetztes Rechts-Links-Muster
Hinreihe: *1 rechts, 1 links* wiederholen bis zur letzten Masche: 1 rechts.
Rückreihe: ebenso. *1 rechts, 1 links* wiederholen bis zur letzten Masche: 1 rechts.
Länge: Vermesst den Kopf eures Babys und zieht ca. 3cm ab. So lang sollte euer Band werden. Man kann es auch zwischendurch immer mal anlegen und gucken wann es lang genug ist.
Ist die Wunschlänge erreicht: Abketten und beide Enden zusammennähen.
Die Schleife:
12 Maschen mit rosa Wolle auf Nadel 3,0mm anschlagen.
Ein Band von ca. 15cm glatt rechts stricken (am besten fest stricken!). Abketten und beide Enden wieder zusammennähen.
Damit die Schleife sich nicht rollt, könnt ihr die obere und untere Öffnung mit der selben Wolle zunähen:

Die Schleife in der Mitte zusammendrücken und mit etwas rosa Wollfaden fixieren, in dem ihr mit etwas rosa Faden von oben nach unten und umgekehrt die Mitte zusammen näht. Und aufpassen, dass der Faden fest gezogen wird, dann bleibt die Schleife in der Mitte schön zusammen 🙂

Mit demselben Faden könnt ihr dann vorne auch noch einen Knopf annähen, der das ganze verdeckt und der Schleife noch zusätzlichen Charme verleiht.
Jetzt müsst ihr die Schleife nur noch leicht seitlich am Stirnband fixieren (mit rosa oder weißem Faden bleibt euch überlassen, ich habe es mit dem rosa gemacht) und das Stirnband ist fertig!

Natürlich könnt ihr auch andere Farben als weiß und rosa benutzen!
Wenn ihr das Band nachgestrickt habt, könnt ihr mir gerne schreiben oder einen Kommentar hinterlassen ich verlinke euch gerne hier oder zeige ein Bild von eurem Ergebnis!
English Translation:
You need:
- Cotton yarn in white (I had Rico Baby Cotton Soft DK)
- Cotton yarn in pink (I had Rico Baby Cotton Soft DK)
- a matching button
- DPN needles in 3.0mm and 3.5mm
- Wool needle for sewing
This is how it works:
First: The Headband.
For the headband, cast on 11 stitches on 3.5 mm dpn needles.
If you want the headband to be expanded, cast on an odd number. This is the best way to avoid knitting mistakes!
The headband is knitted in a pearl pattern, i.e. a shifted right-left pattern
Right row: *knit 1, purl 1* repeat * until the last stitch: knit 1.
Back row: likewise. * knit 1, purl 1* repeat * until the last stitch: knit 1.
Length: Measure your baby’s head and subtract approx. 3cm because the finished headband is stretchy. This is how long your band should be. You can also put it on every now and then and see when it is long enough.
Once the desired length has been reached: Bind off and sew both ends together.
The Bow:
Cast on 12 stitches with pink wool on a 3.0 mm dpn needle.
Knit a band of approx. 15cm in stockinette stitch (preferably knit tightly!). Fasten off and sew both ends together again.
To prevent the bow from rolling, you can sew up the top and bottom openings with the same wool:
Press the bow in the centre together and secure it by sewing the centre together with some pink thread from top to bottom and vice versa. And make sure that the thread is pulled tight, so that the bow stays together nicely in the centre 🙂
You can then use the same thread to sew on a button at the front to cover the whole thing and give the bow even more charm.
Now you just need to attach the bow lightly to the side of the headband (with pink or white thread is up to you, I used the pink one) and the headband is finished!
Eine PDF zum ausdrucken werde ich bei Gelegenheit nachliefern.

Das könnte dich ebenfalls interessieren

Wrap Me Up – der Sweater Scarf ist fertig.
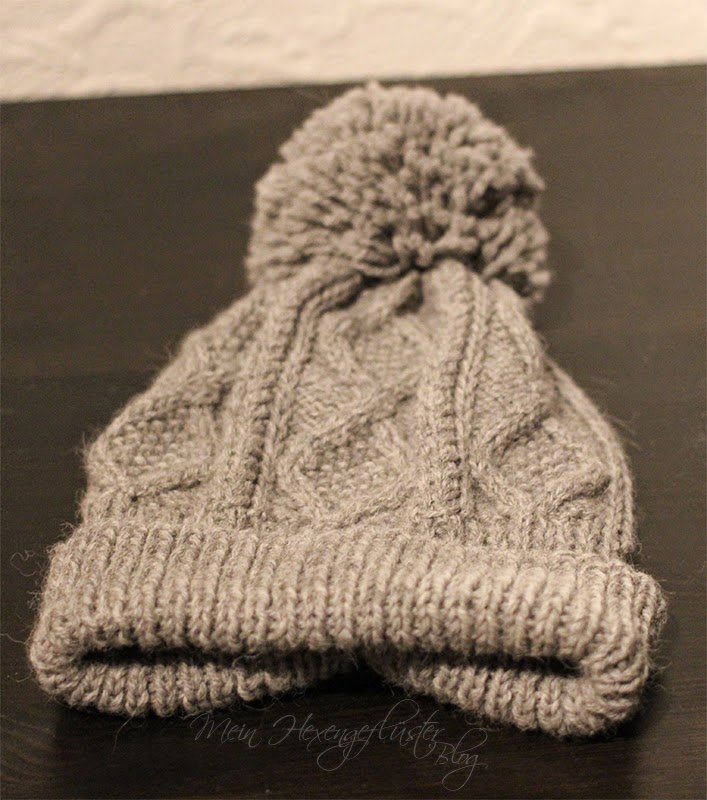
Eine Mütze für mich
2 Kommentare
Senna
Ein wunderbares zart wirkendes Stirnband, welches sehr gut für die kleinen Ohren zum Schutz der Kleinen ist!
Liebe Grüße von Senna
Mary Louise
Hi–I love this pattern, but my German might not be good enough to knit from your directions. Is it possible that you have an English language version of it?
Thanks!
Mary Louise